iPhone | How to Unlock/Jailbreak Your 2.0 2G iPhone (Windows) Thursday, 24th July 2008, 01:07 pm *Before continuing any further please note a lot of users are having issues with Winpwn. We ourselves had issues creating an ipsw. If you have XP, this tutorial will work flawlessly. However, reports are coming in that it does not work wonders on Vista. Winpwn has been updated to
2.0.0.3, hopefully that should fix a lot of the issues.*
Please keep these notes in mind...
- You MUST do a full uninstall of winpwn before installing the new version
- Make sure you have the latest version of iTunes ( Currently 7.7)
- WinPwn uses 300MB of ram at peak due to the ipsw being extracted in memory
- You must first click browse and load an IPSW to use WinPwn (i thought this was clear)
- For 2.0 only the *5A347_Restore.ipsw files are valid. The 345 image will not work
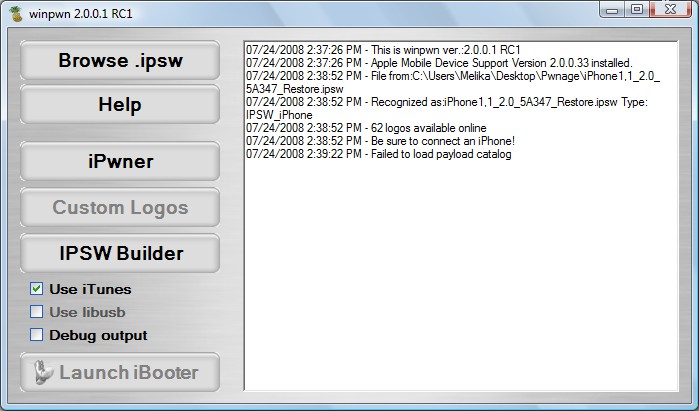
- If you see Failed to load image catalog/payload catalog, this is fine and won't cause problems
- If you already have service with AT&T do not activate or install Youtube Fix
These are instructions on how to unlock and jailbreak your 2.0, 2G iPhone using Windows and WinPwn.
To follow this tutorial you will need to have iTunes 7.7 installed (make sure to reboot). Also, you may need to download and install
.Net Framework if you are on Windows XP.
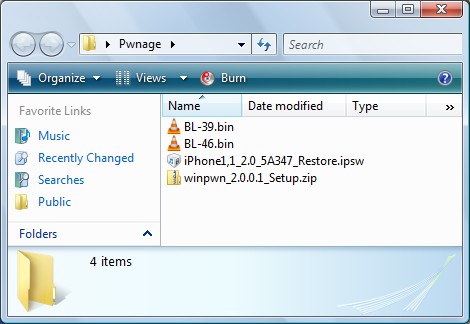
Step OneCreate a folder on your desktop called
Pwnage. In it place the following files:
Winpwn 2.0.0.3 or
Winpwn 2.0.0.3 ,
3.9BL ,
4.6BL , and the
latest 2.0 firmware.
 Step Two
Install
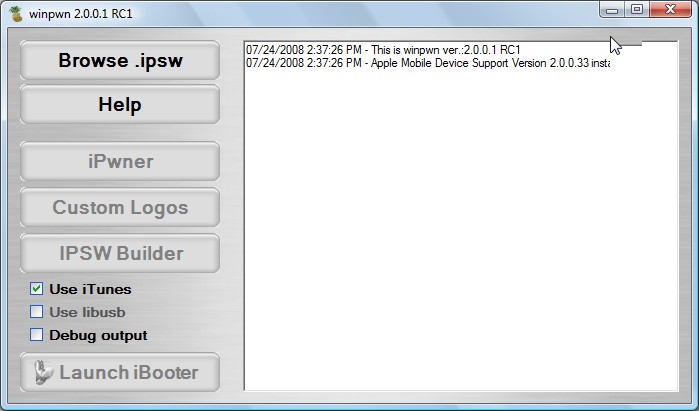
WinPwn by extracting the downloaded zip from Step One and running the setup executable. Once WinPwn has been installed it will put a shortcut icon on your desktop. Double click to launch the application.
 Step Three
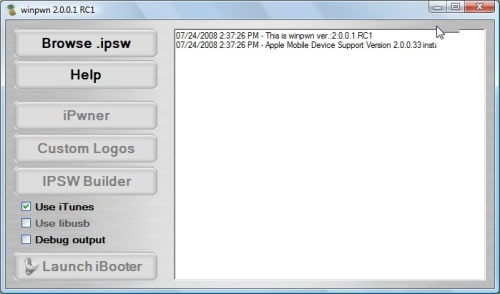
Once
WinPwn has opened click the
Browse .ipsw button.
 Step Four
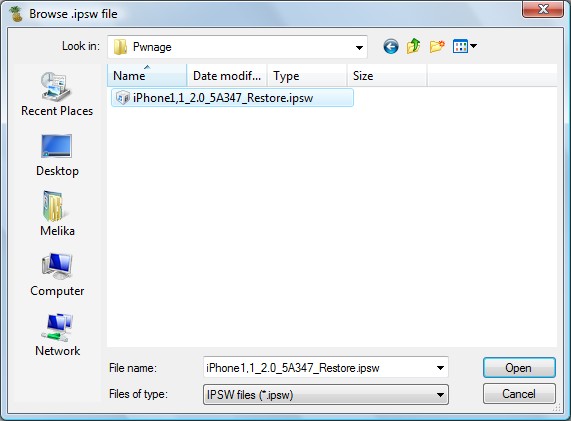
Locate the 2.0 firmware file (iPhone1,1_2.0_5A347_Restore.ipsw) from the Pwnage folder on your desktop and click
Open.
 Step Five
WinPwn will check the firmware to make sure its valid. Now click the
IPSW Builder button.

\
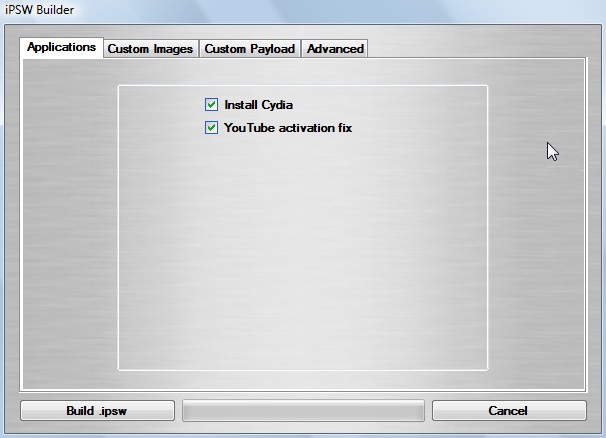
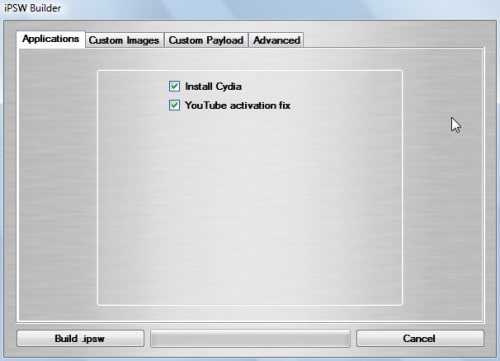
Step SixThe IPSW Builder window will open to the
Applications tab. Check to select
Cydia and if you are not on AT&T then check to select
YouTube Fix.
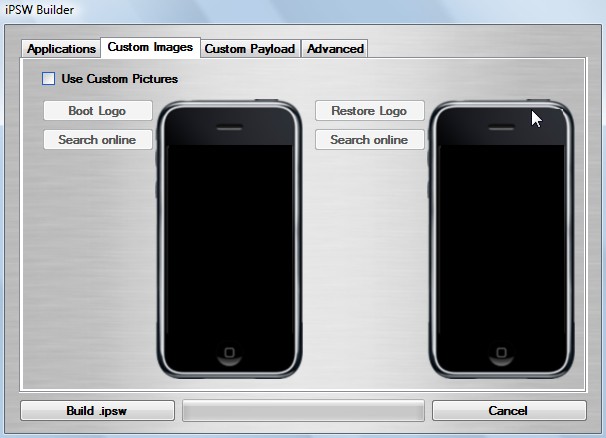
 Step Seven
Click to select the
Custom Images tab. From here you can can select
your own boot images.
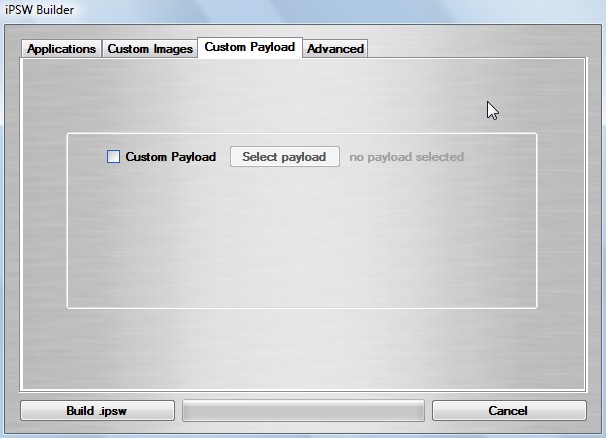
 Step Eight
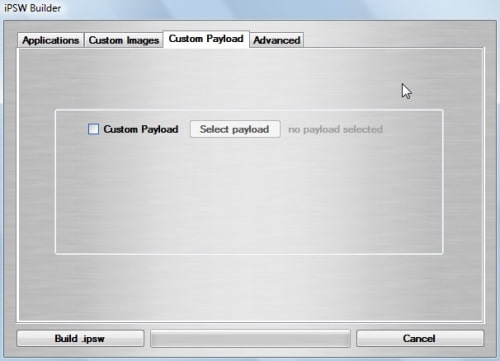
Click to select the
Custom Payload tab. From this tab you can select custom payloads you have created to be automatically installed. We will discuss this in a future tutorial.
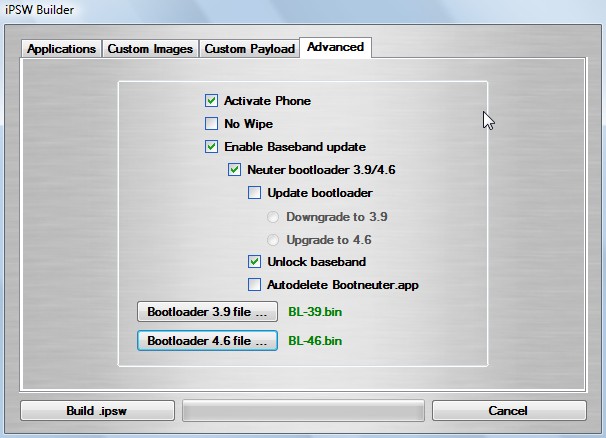
 Step Nine
Click to select the
Advanced tab. Check to select: Activate Phone, Enable Baseband update, and Unlock baseband.
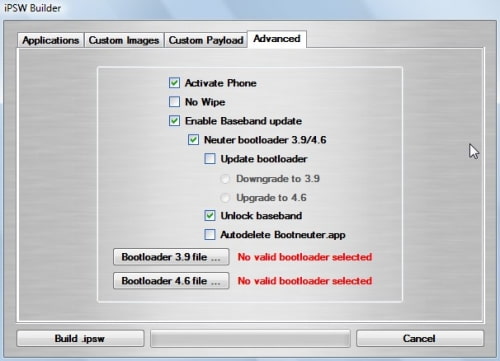
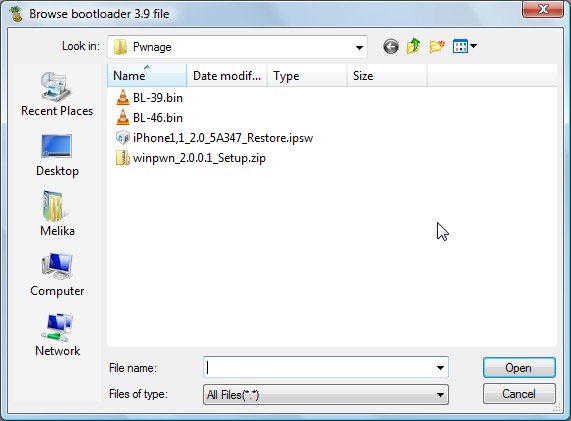
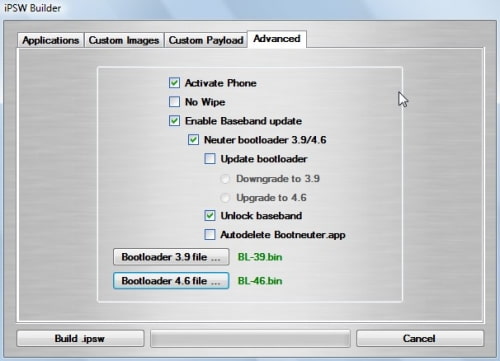
We will also need to load the Bootloader files. Click the
Bootloader 3.9 button and then select the BL39.bin file in your Pwnage Folder. Then click the
Bootloader 4.6 button and select the BL46.bin file in your Pwnage Folder.

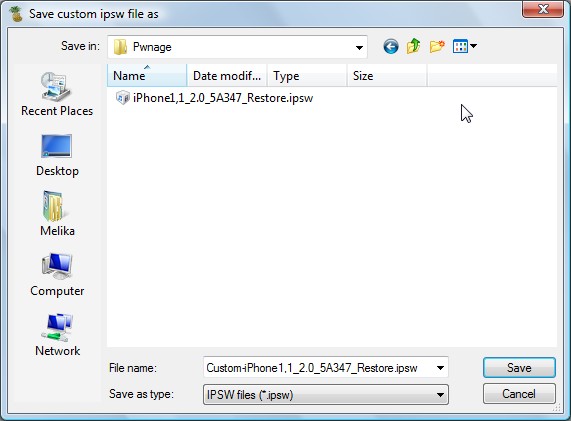
 Step Ten
Click the
Build .ipsw button at the bottom left to build your custom ipsw firmware file. Navigate to your Pwnage folder and click the
Save button.
 Step Eleven
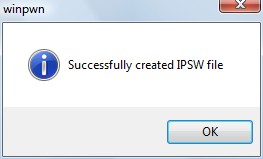
Once WinPwn has finished creating your custom firmware then click the
iPwner button from the main menu.
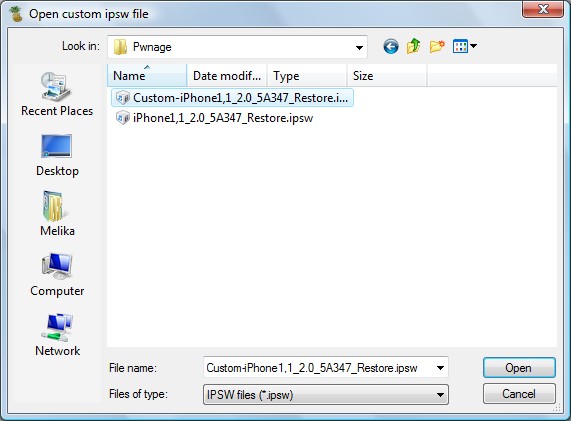
 Step Twelve
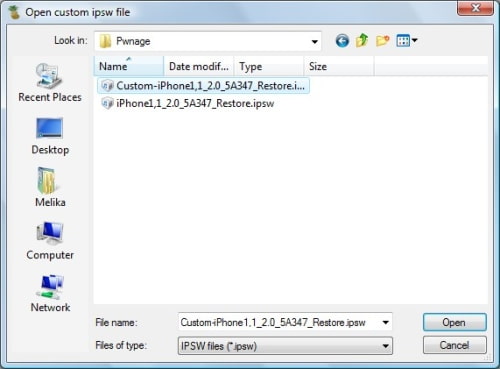
Select the custom firmware file we just built from the Pwnage folder on your desktop and click the
Open button.
 Step Thirteen
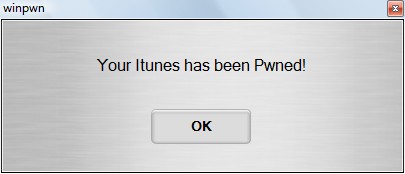
You will then be notified that your iTunes has been Pwned!
 Step Fourteen
Next we will need to put the iPhone in the DFU mode and restore using iTunes. To put your iPhone into DFU mode please follow
these instructions!
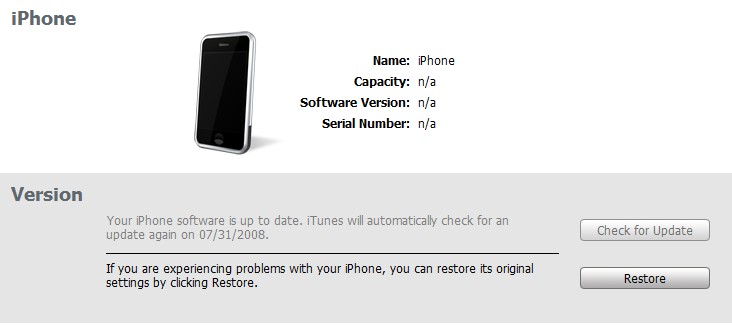
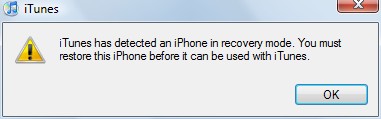
Step FifteeniTunes will prompt you that you are in recovery mode.
Hold down
Shift and click the Restore button in iTunes.

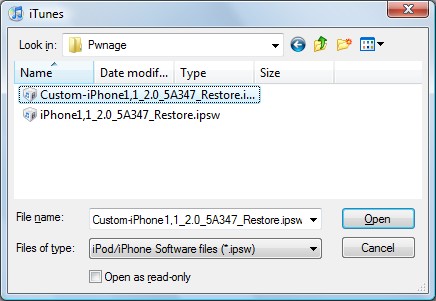
A popup window will appear asking you to select your firmware. Select the Custom firmware file we saved in the Pwnage folder and then click the
Open button.

Once the restore is complete you will have your iPhone unlocked and jailbroken!